Google Workspace DKIM Setup Instructions
DKIM (DomainKeys Identified Mail) is an authentication protocol that uses cryptographic signatures to ensure that email messages are not tampered with during transit and truly originate from your domain.
This guide outlines how to configure DKIM for Google Workspace, Google’s cloud-based suite for communication and collaboration.
Google Workspace DKIM Requirements
To set up DKIM for your Google Workspace domain:
1. Navigate to the Google Admin Console and log in.
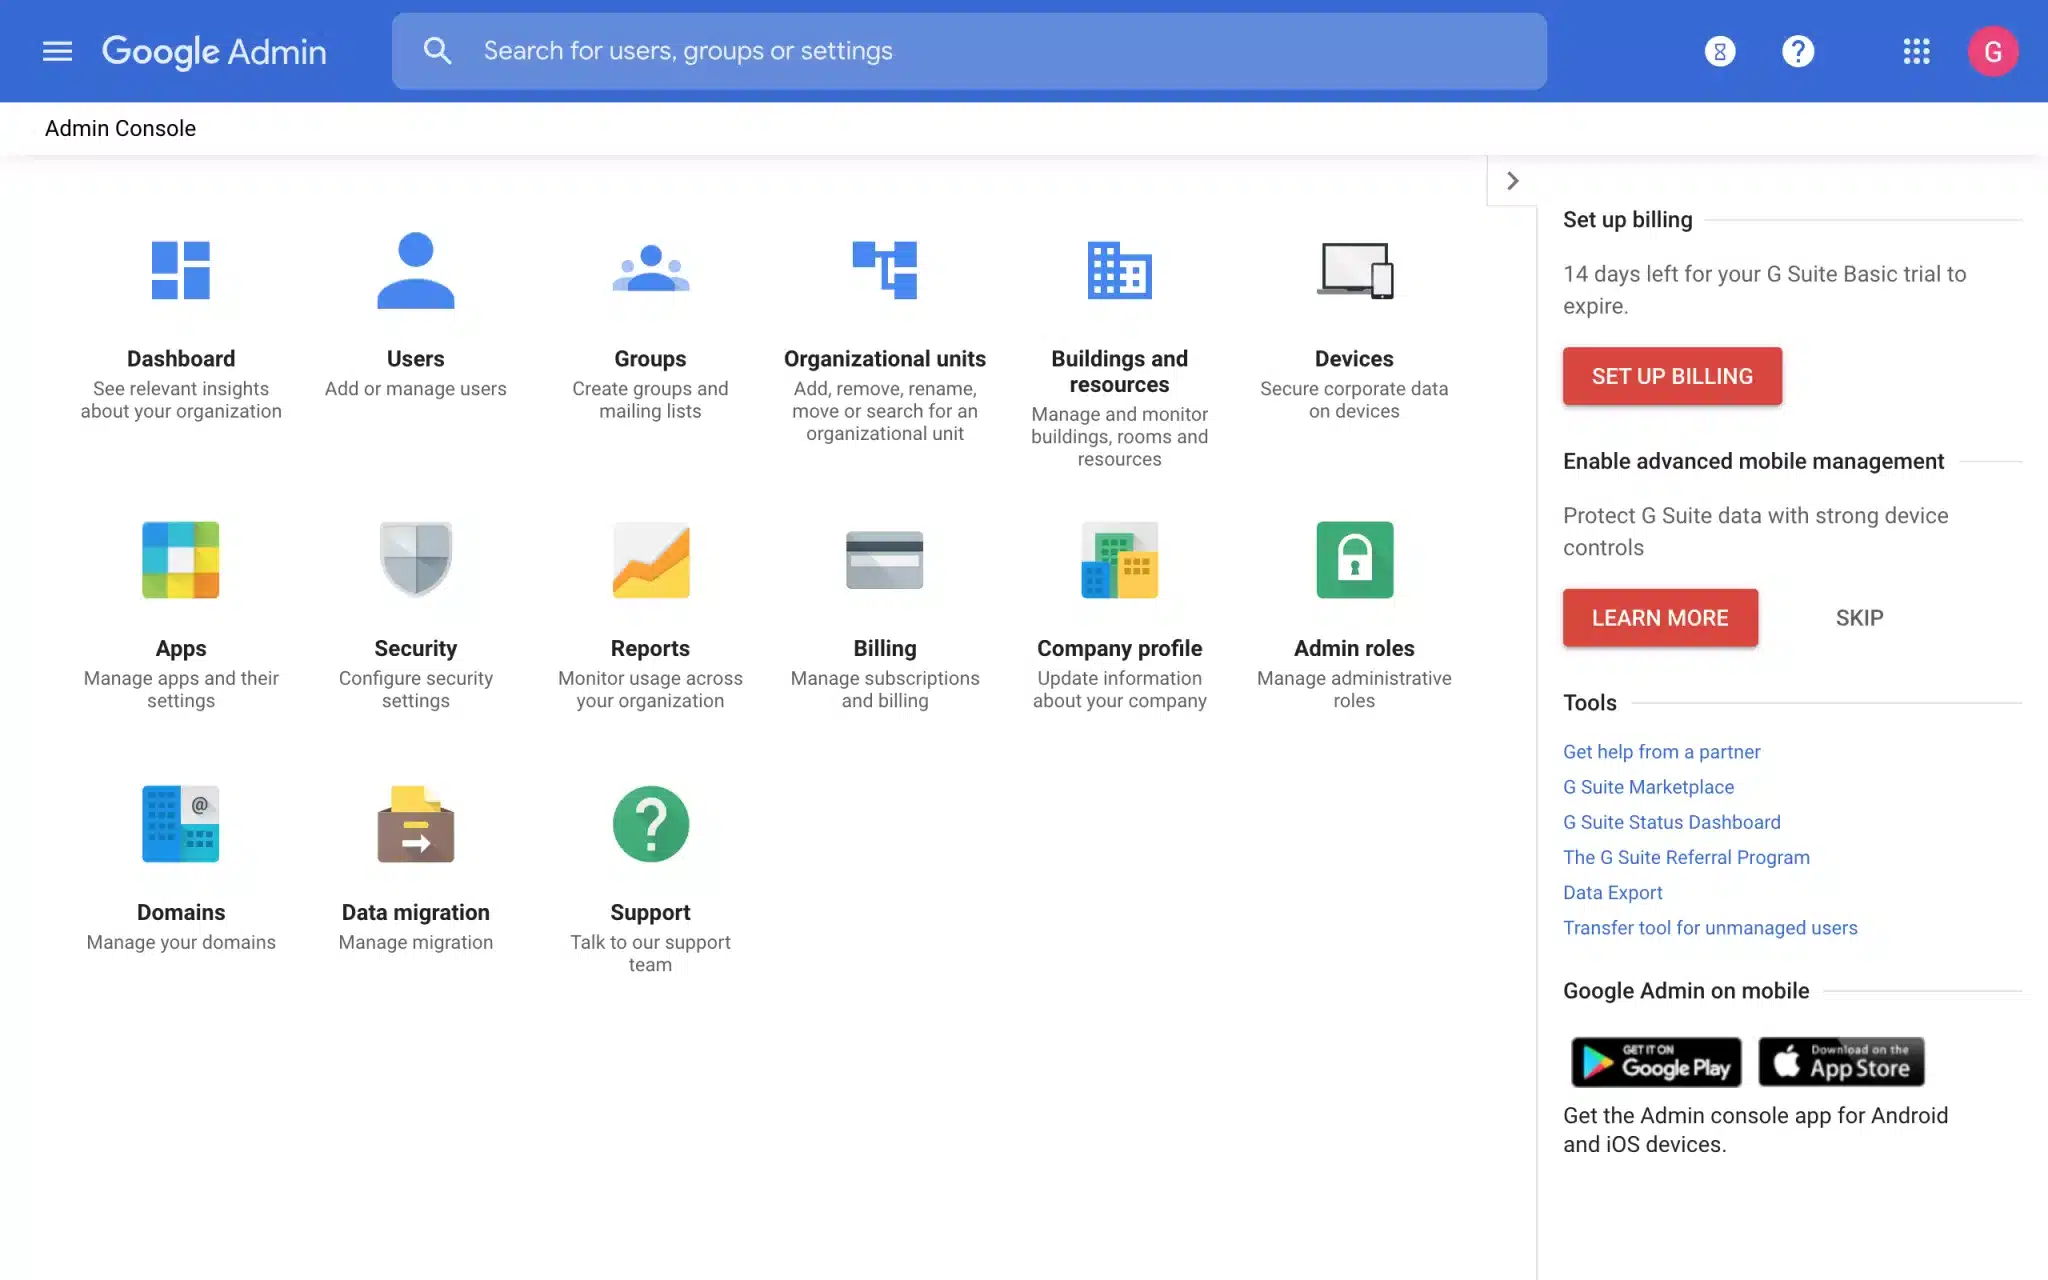
2. Click on “Apps” to access app-related settings.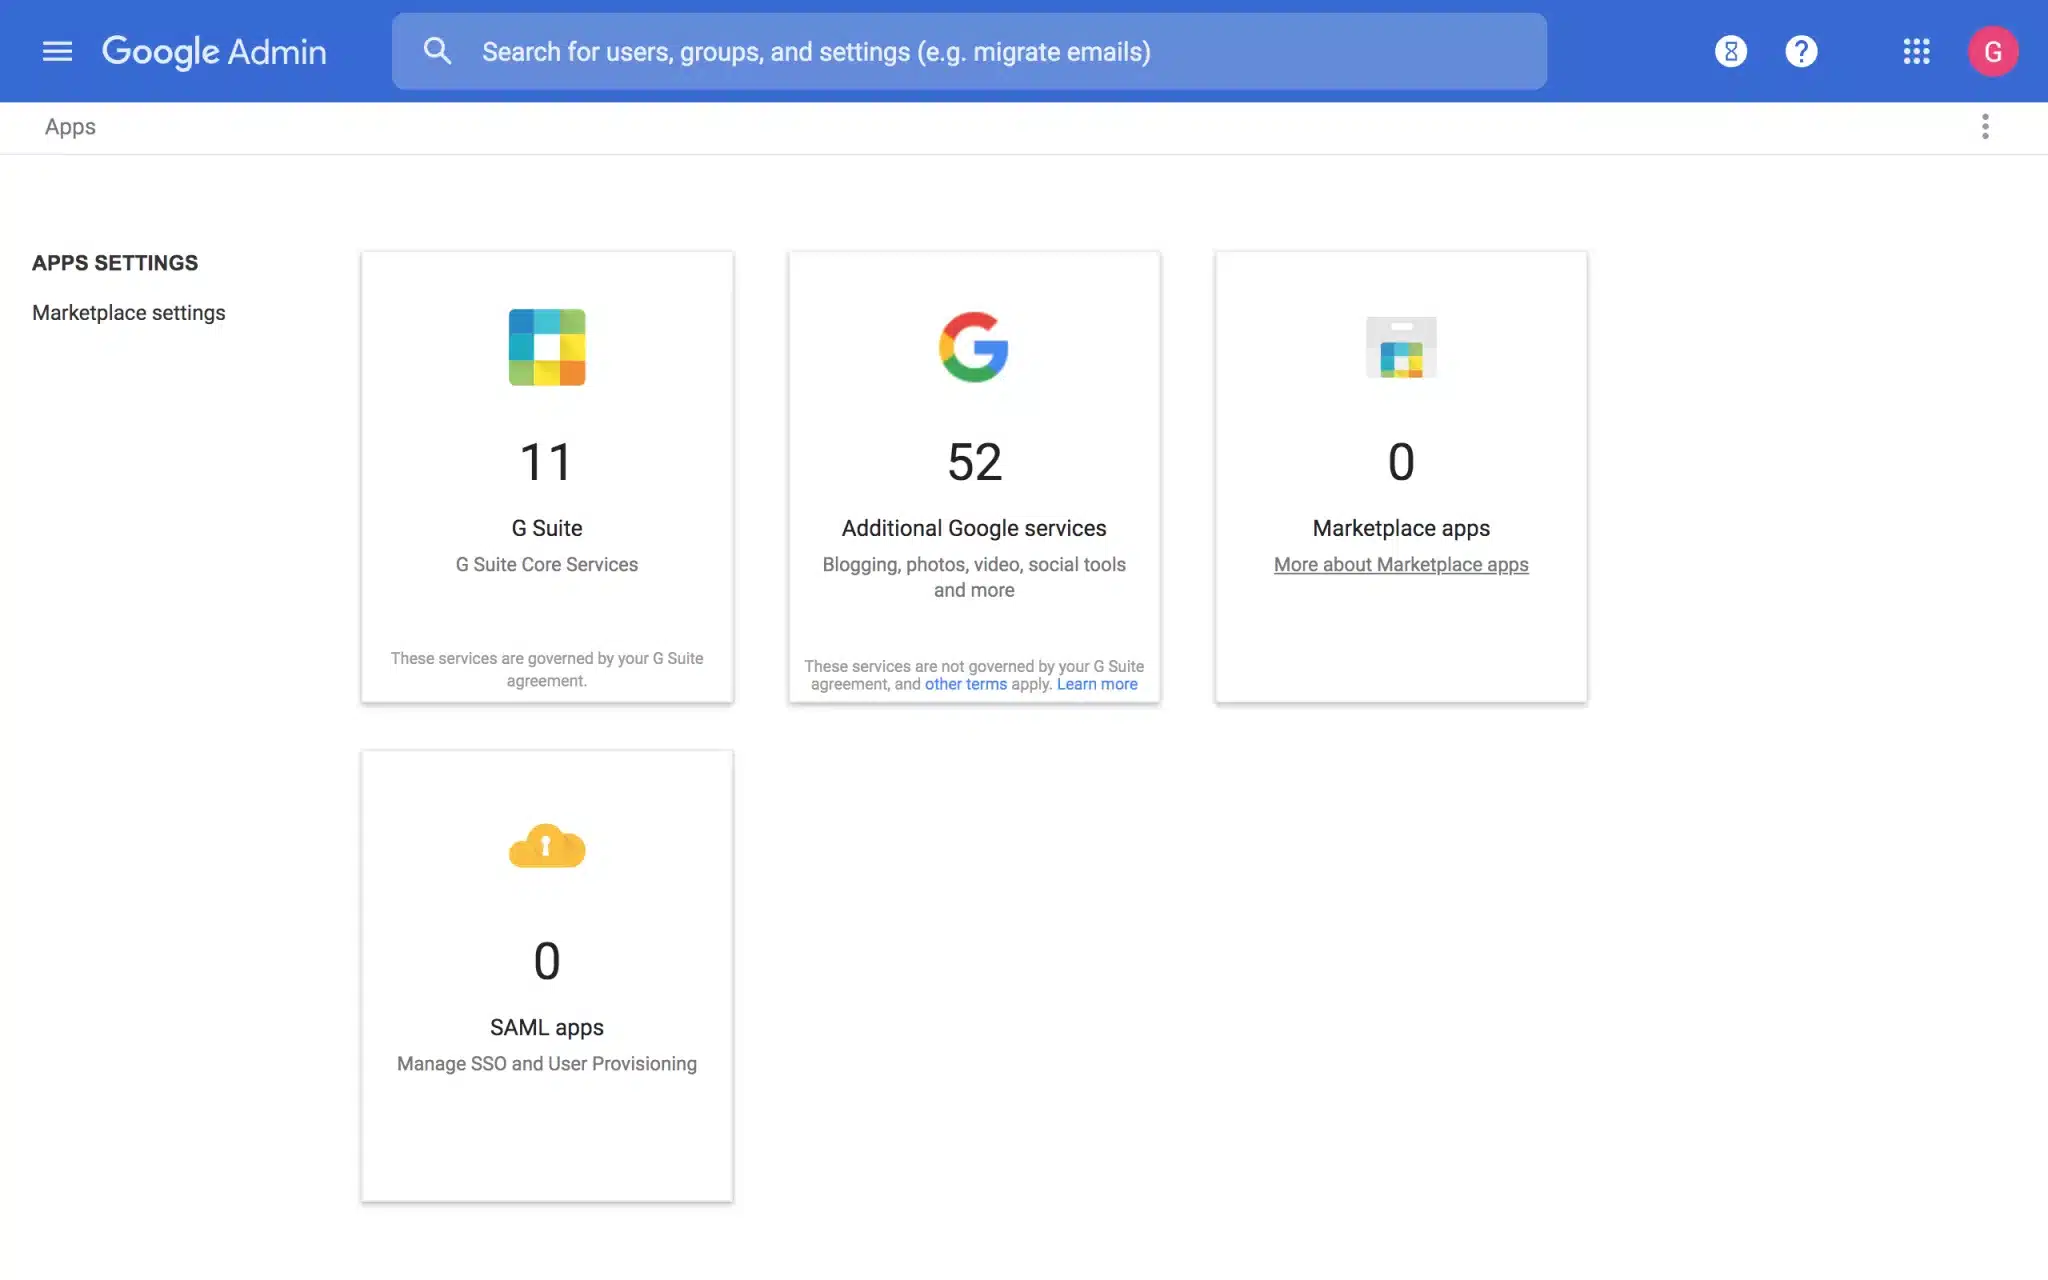
3. Go to “Google Workspace Core Services”.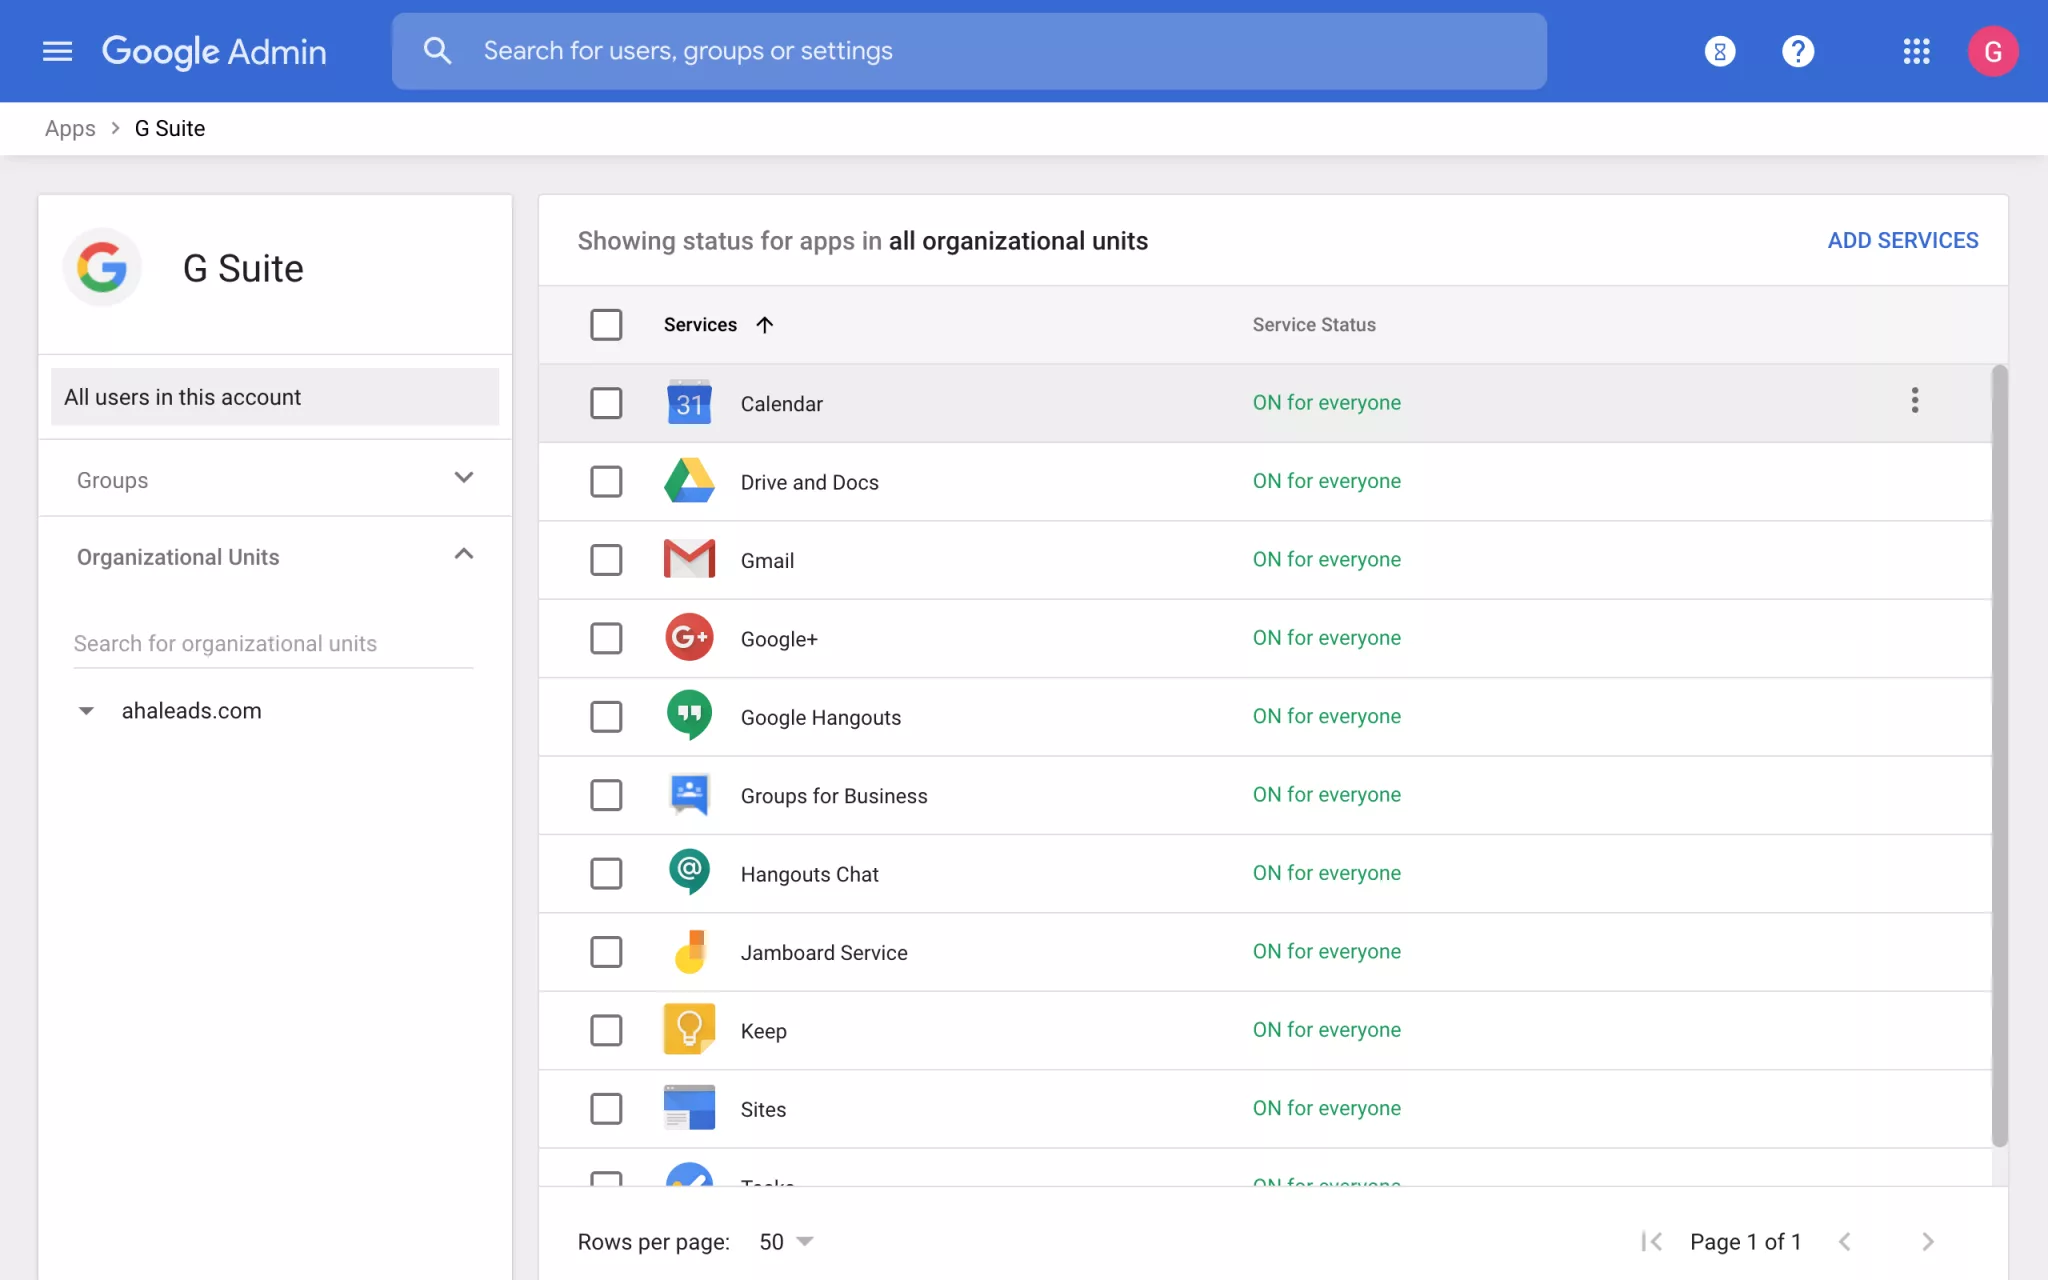
4. Click on “Gmail”.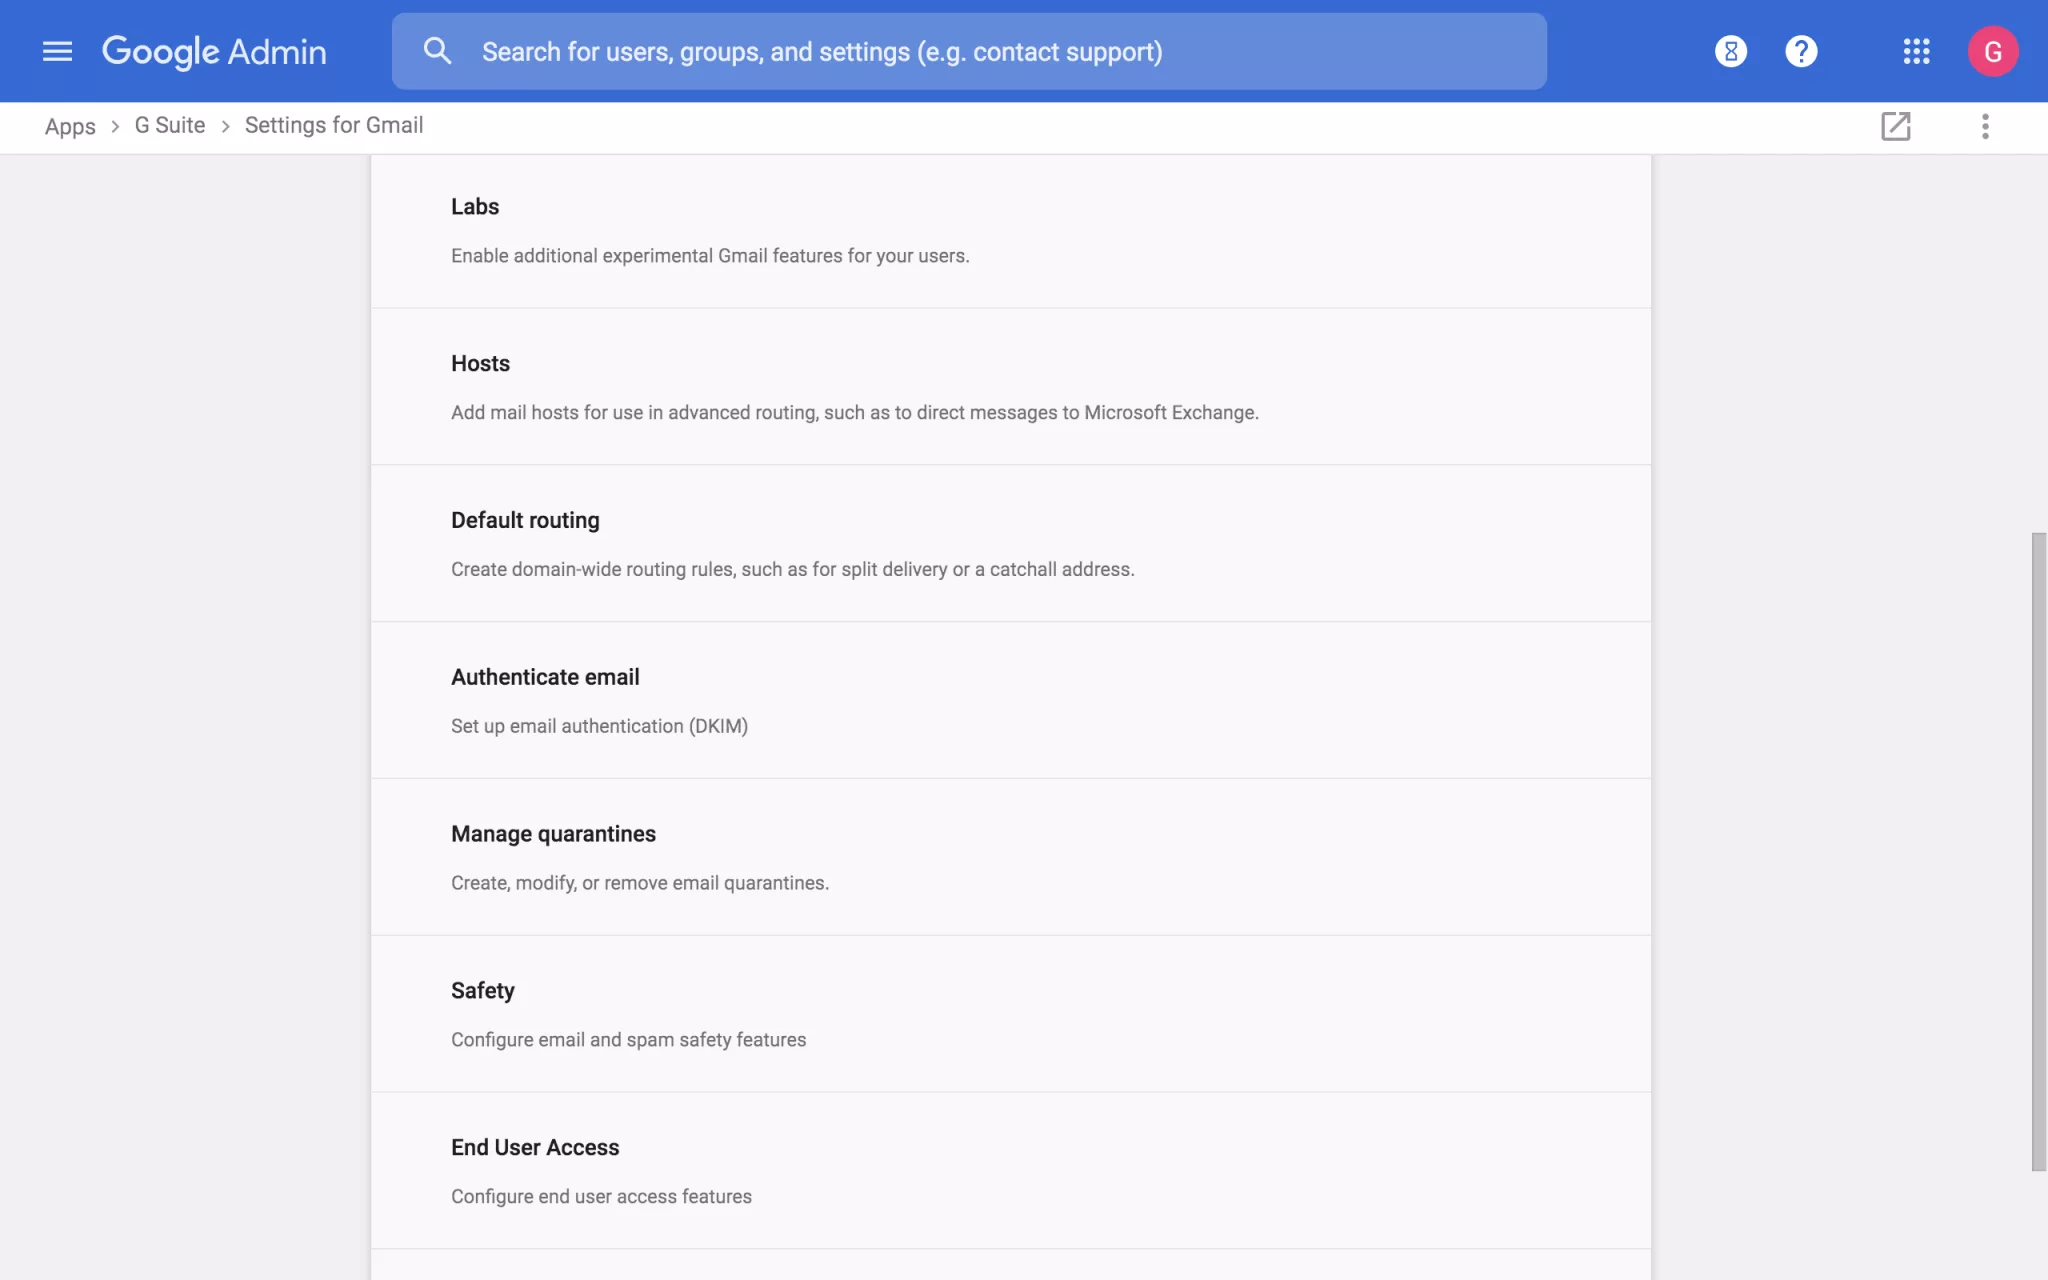
5. Click on “Authenticate email”.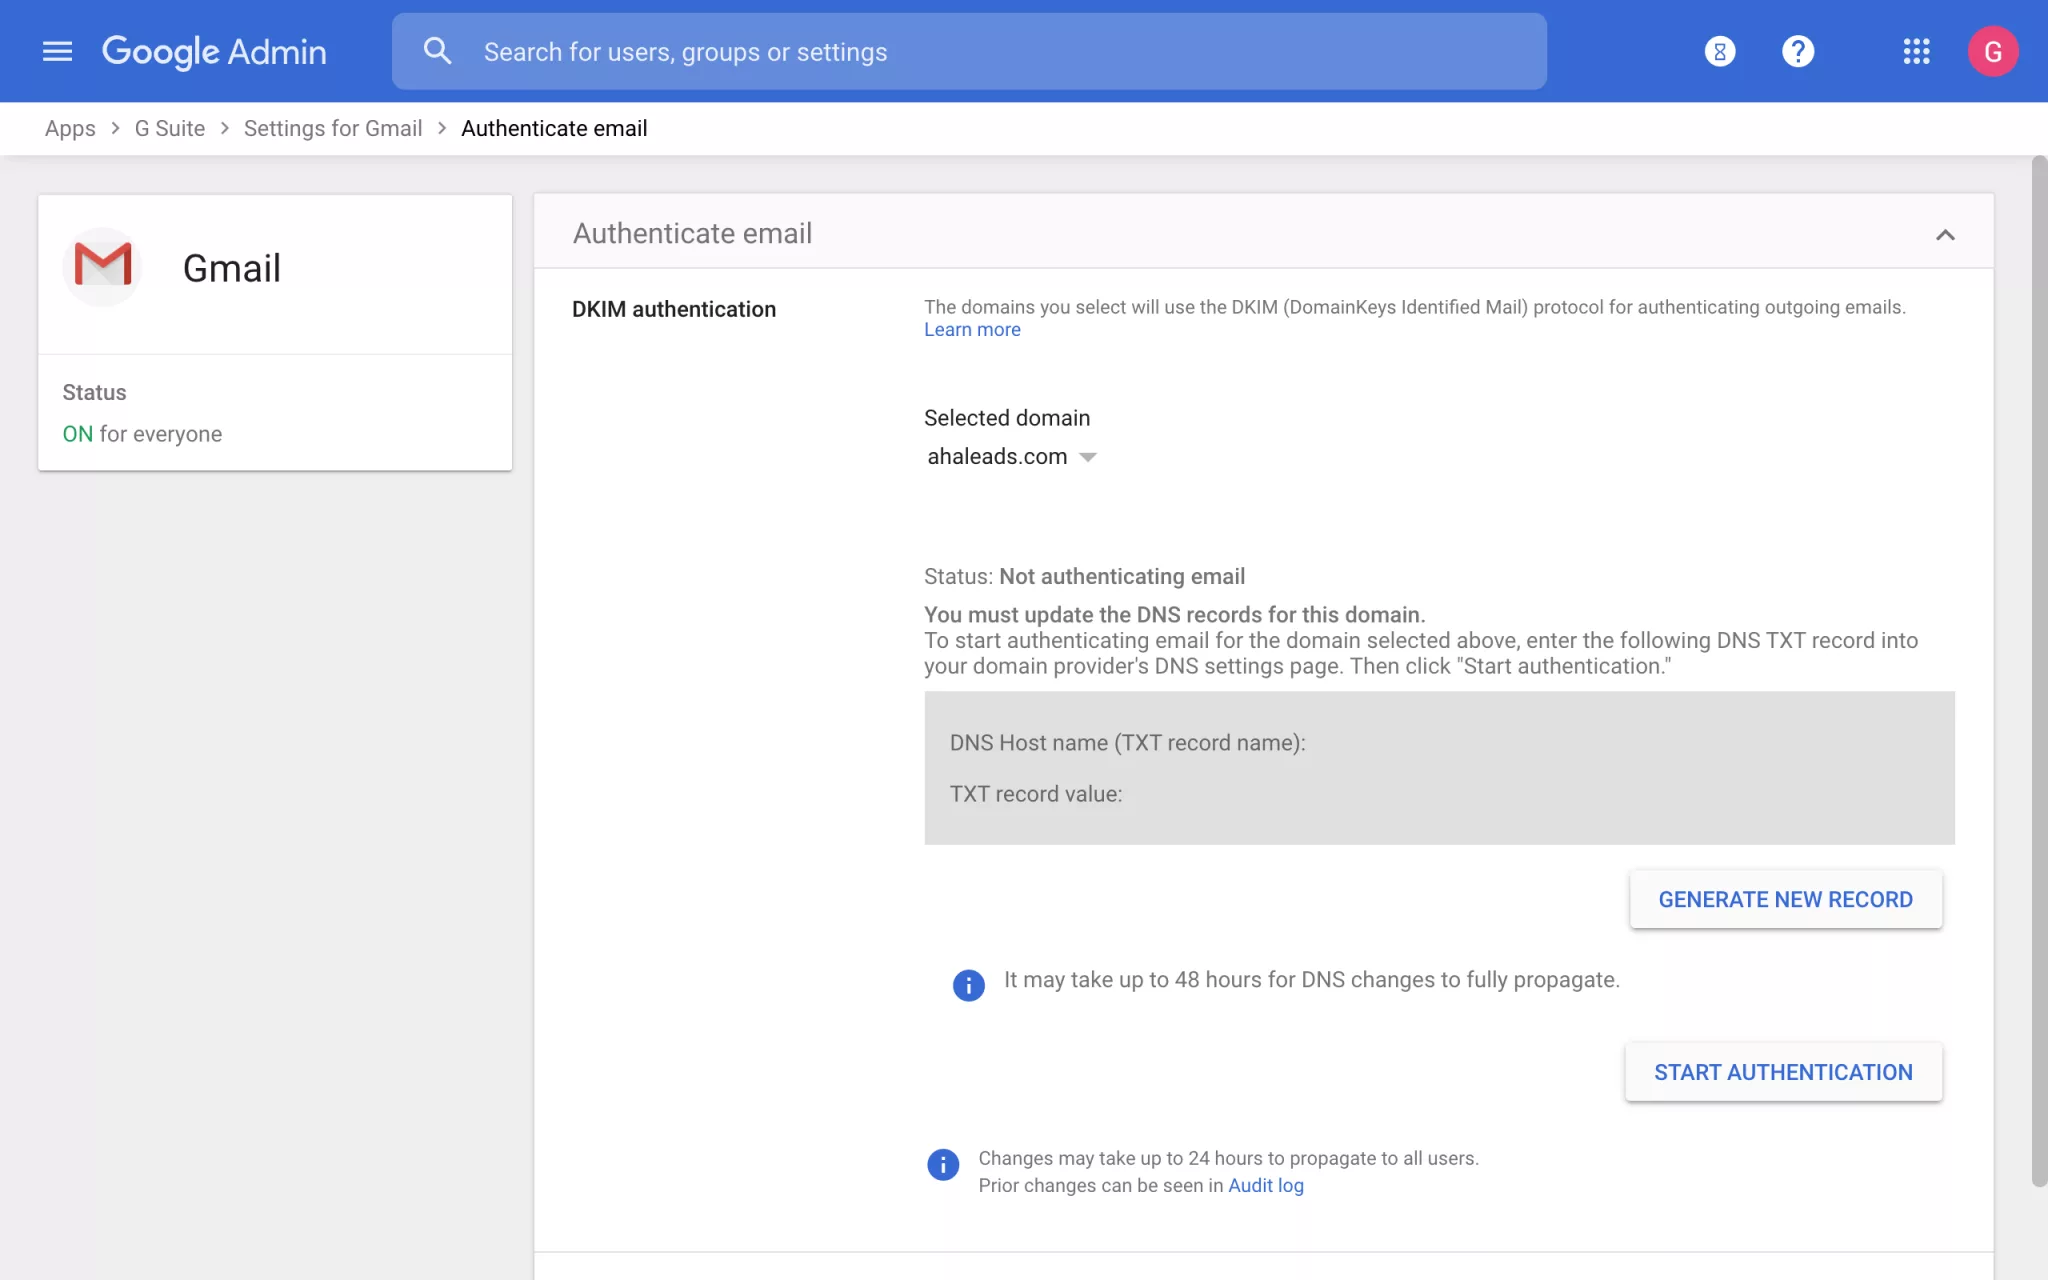
6. Click the “GENERATE NEW RECORD” button to create your DKIM record. Use the suggested default selector.
7. Publish the generated DKIM record to your domain’s DNS. DNS propagation may take up to 1 hour. You can test whether the key is publically visible using Sendmarc’s DKIM checker.
8. Once the record is accessible, click “START AUTHENTICATION” in the Admin Console.
9. Click “SAVE” to complete the DKIM setup process.
How to update your DKIM settings using Sendmarc
To update your DKIM record through Sendmarc, please refer to the Sendmarc DKIM Setup Documentation.
Google Workspace’s Documentation
Google’s official DKIM configuration guide can be found here.
Looking for SPF Settings?
Find out how to configure your Google Workspace SPF settings here.