Klaviyo DKIM Setup
DKIM (DomainKeys Identified Mail) is an email authentication method that uses cryptographic signatures to ensure emails haven’t been altered in transit and that they truly originate from your domain.
This article outlines the steps required to configure DKIM for Klaviyo, ensuring your marketing emails are authenticated and improving your deliverability and brand trust.
Klaviyo DKIM Requirements
How to Configure DKIM and Domain Authentication for Klaviyo
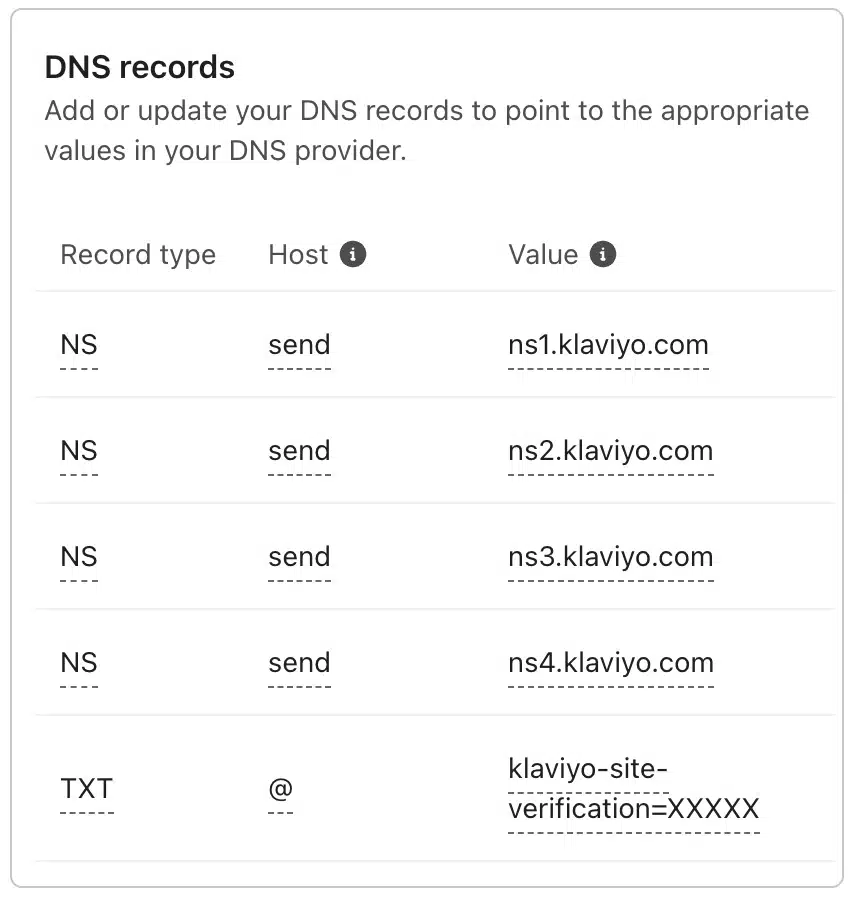
To begin, you need to generate DNS records in Klaviyo. Klaviyo requires either 3 CNAME or NS records for email authentication, plus one TXT record for domain ownership verification.
Note: While all users can access the setup process, only those with Owner, Admin, Manager, or Campaign Coordinator privileges can make DNS changes.
Step-by-Step Instructions:
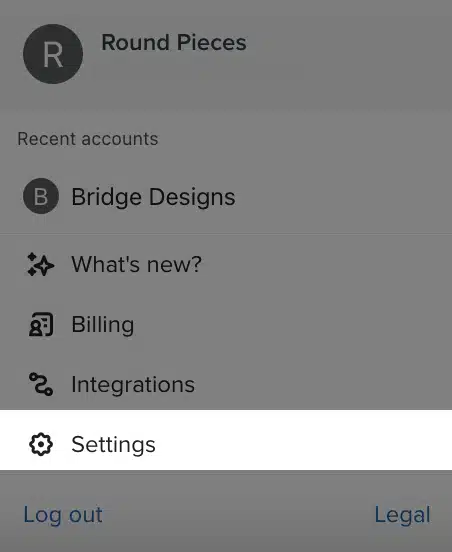
- Click your company name in the bottom-left corner of your Klaviyo account.
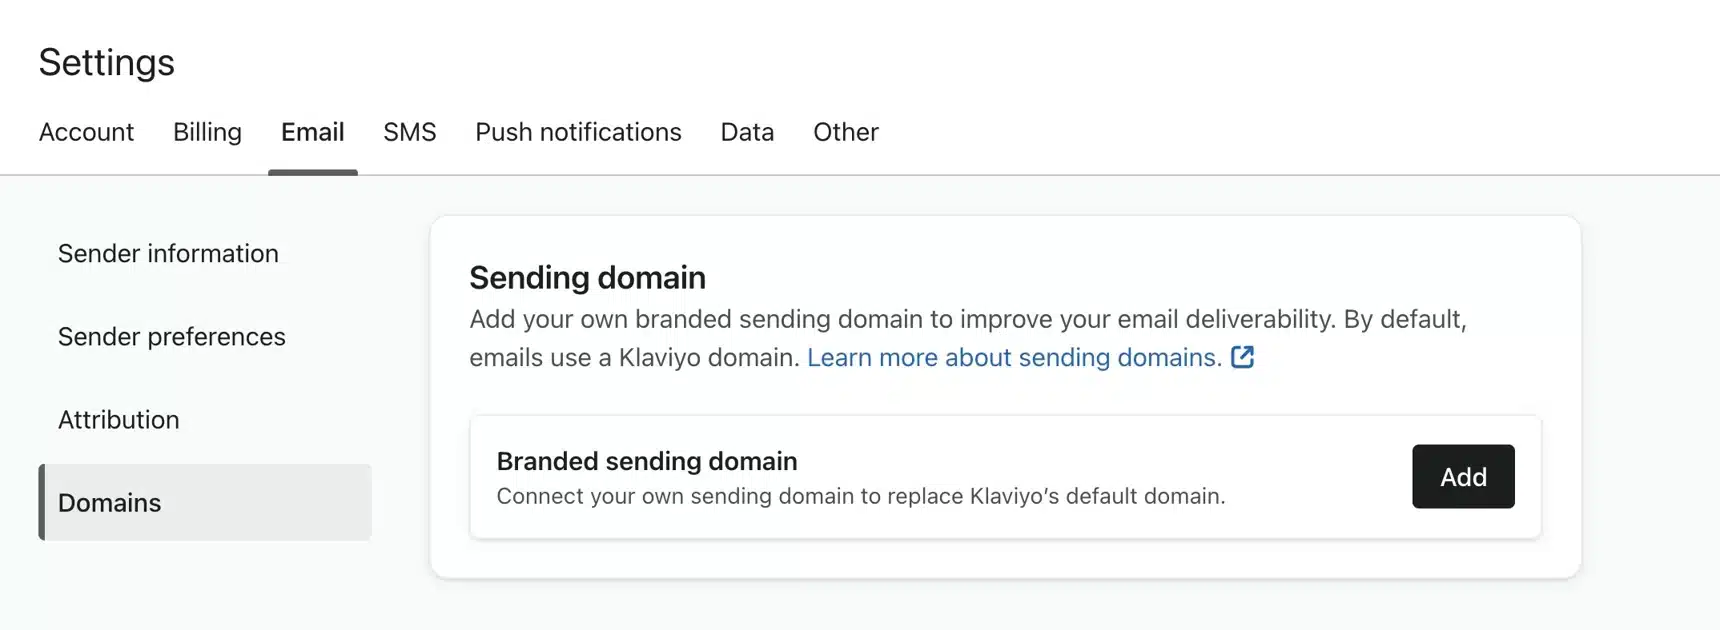
- Navigate to Settings > Email > Domains.

- Click Add.

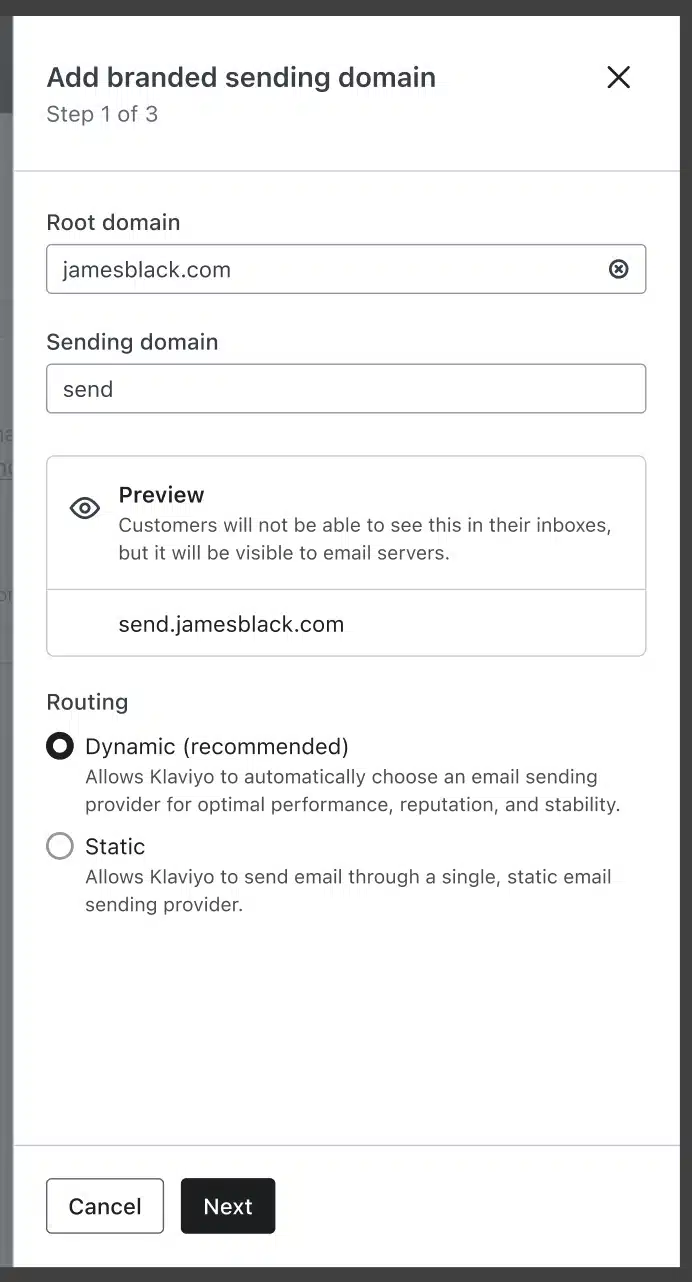
- Enter your root domain (e.g.,
helloworld.com). - Choose a unique, unused subdomain under Sending Domain (e.g.,
send). - Select your Routing Method — If you’re using Sendmarc, always choose Static (CNAME).

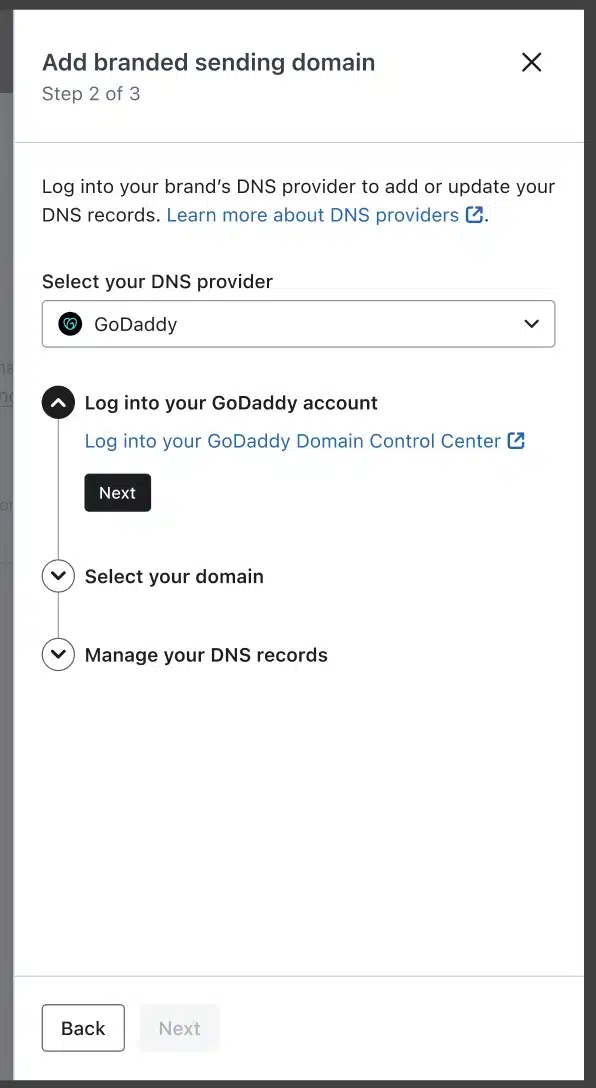
- Click Next, select your DNS provider, and log in. If you you’reusing Sendmarc for DKIM Management, select Other.

- Copy the generated DNS records and add them via your domain registrar. To add them to Sendmarc, follow the steps here.

DNS Records for Static Routing (CNAME Method)
| Host | Value | Record Type |
|---|---|---|
| send.helloworld.com | u161779.wl030.sendgrid.net | CNAME |
| kl._domainkey.helloworld.com | kl.domainkey.u161779.wl030.sendgrid.net | CNAME |
| kl2._domainkey.helloworld.com | kl2.domainkey.u161779.wl030.sendgrid.net | CNAME |
| helloworld.com | klaviyo-site-verification=public_API_key | TXT |
Note: If you’re using Sendmarc for DKIM Managment, add the 2nd and 3rd CNAME to Sendmarc. The 1st CNAME and the TXT should be added to your DNS.
Final Steps
- Click Verify Records in Klaviyo once your DNS changes are complete.

- After verification, click Apply Domain to begin sending from your branded domain.
How to update your DKIM settings using Sendmarc
To update your DKIM record through Sendmarc, please refer to the Sendmarc DKIM Setup Documentation.
Klaviyo’s Documentation
Klaviyo’s official DKIM configuration guide can be found here.
