Mimecast DKIM Setup
DKIM (DomainKeys Identified Mail) is an email authentication method that uses cryptographic signatures to verify that an email message has not been altered in transit and that it genuinely originates from the stated domain. Implementing DKIM helps protect your domain from spoofing and ensures message integrity.
This guide provides step-by-step instructions to configure DKIM for Mimecast, a cloud-based email management service.
Mimecast DKIM Requirements
To configure DKIM for your domain in Mimecast, follow the steps below. This process helps ensure your email is properly authenticated and protected against spoofing:
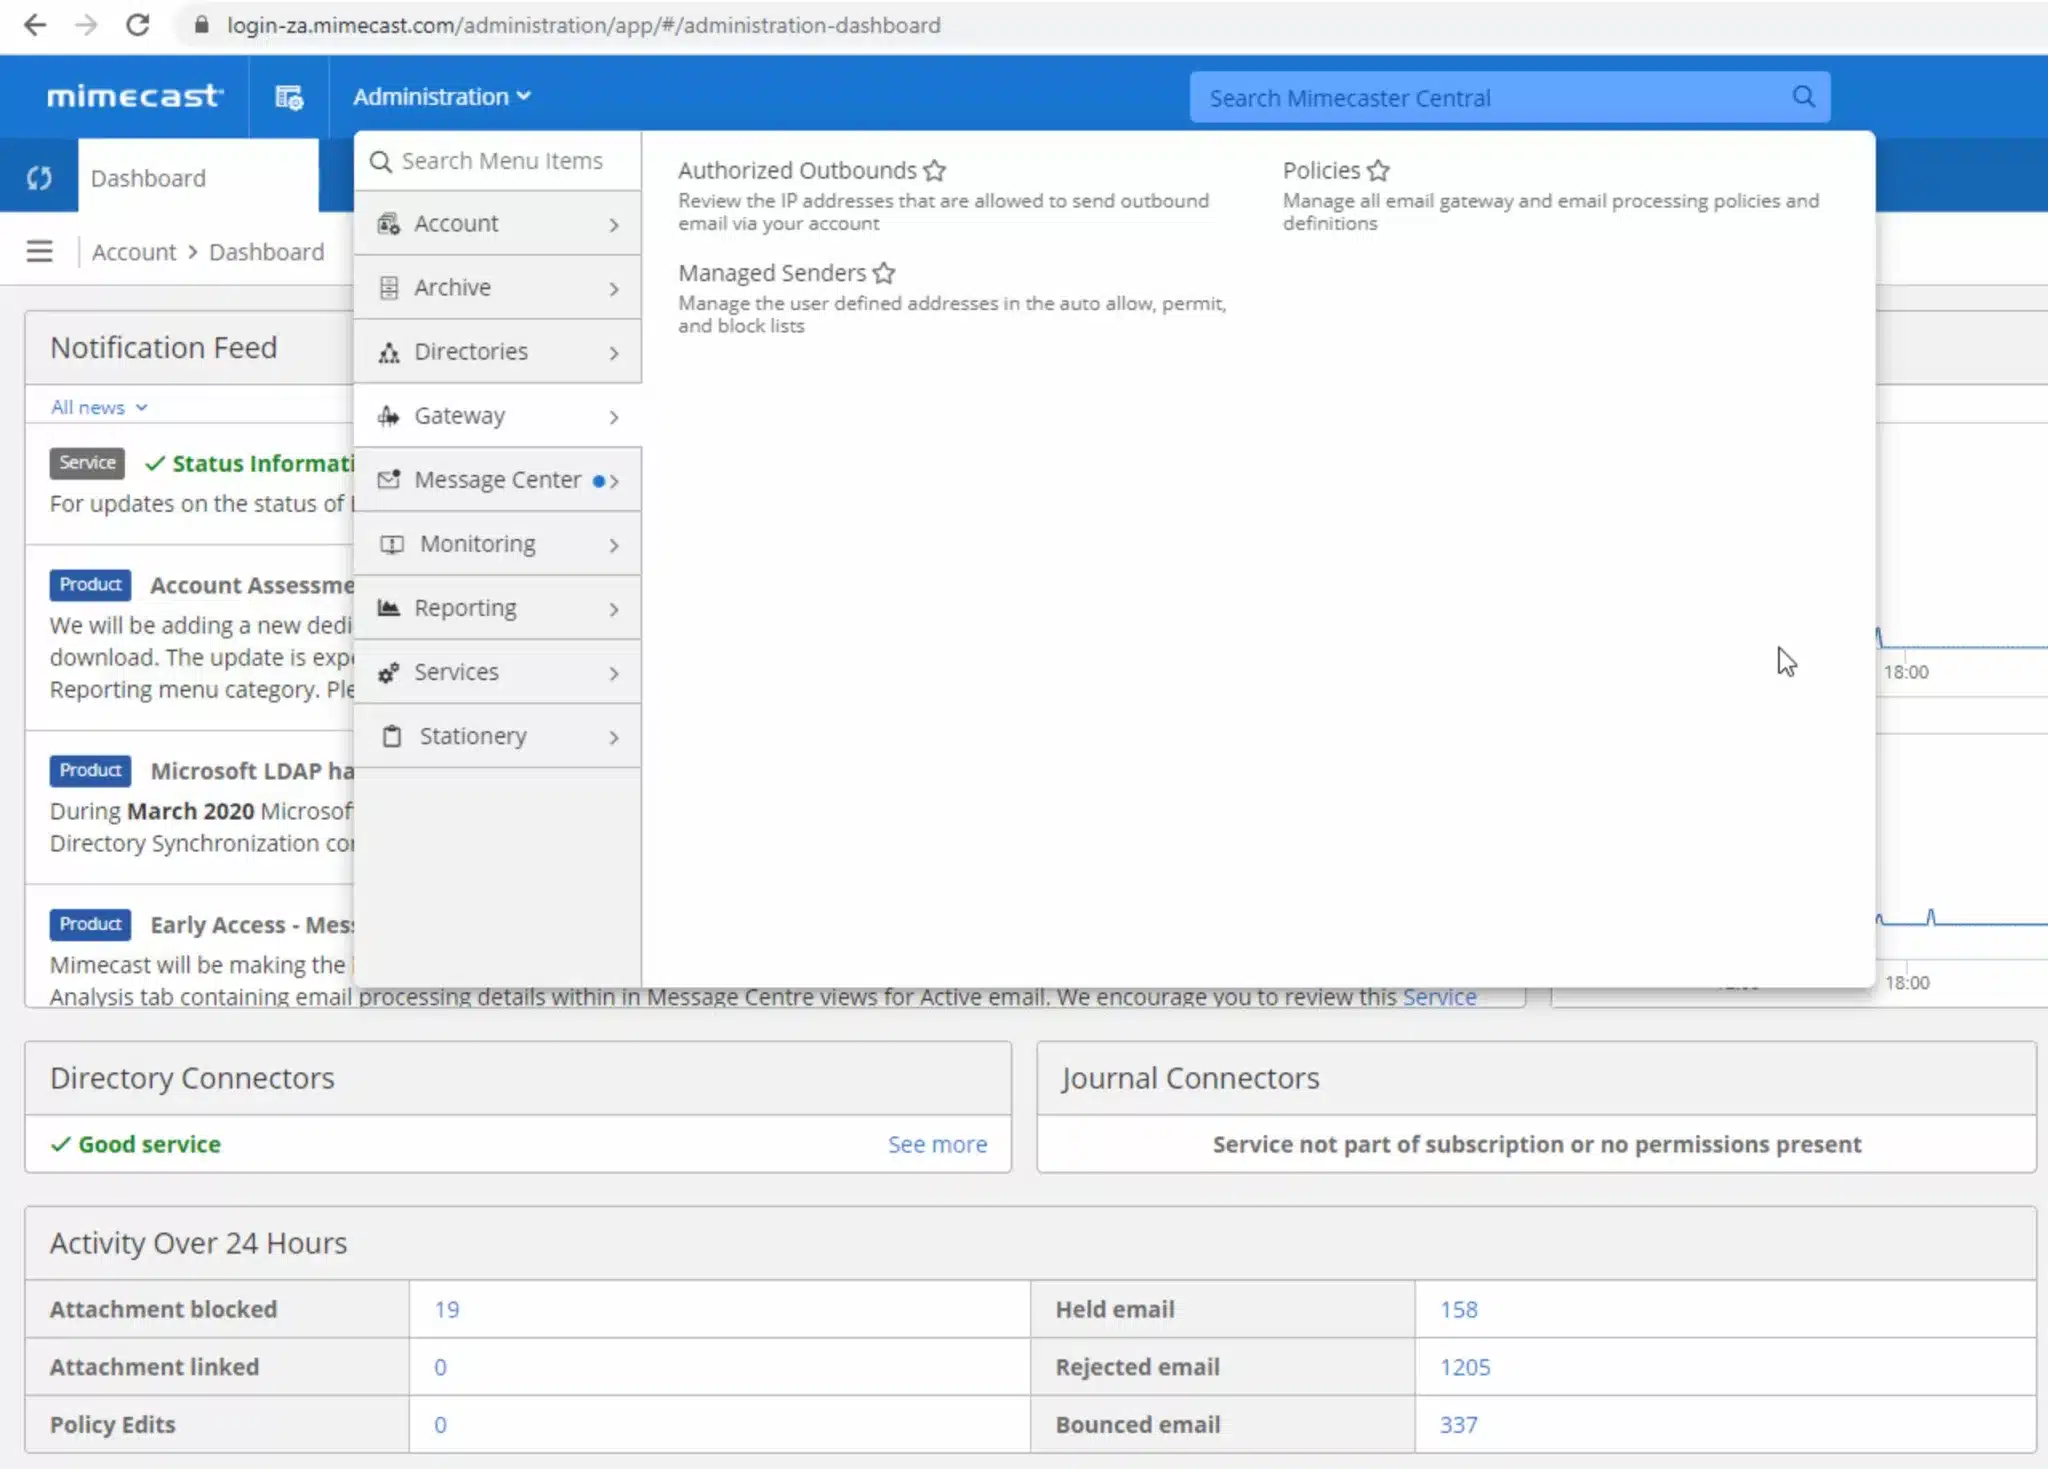
- Once logged in, click the “Administration” dropdown, select “Gateway” and click “Policies”

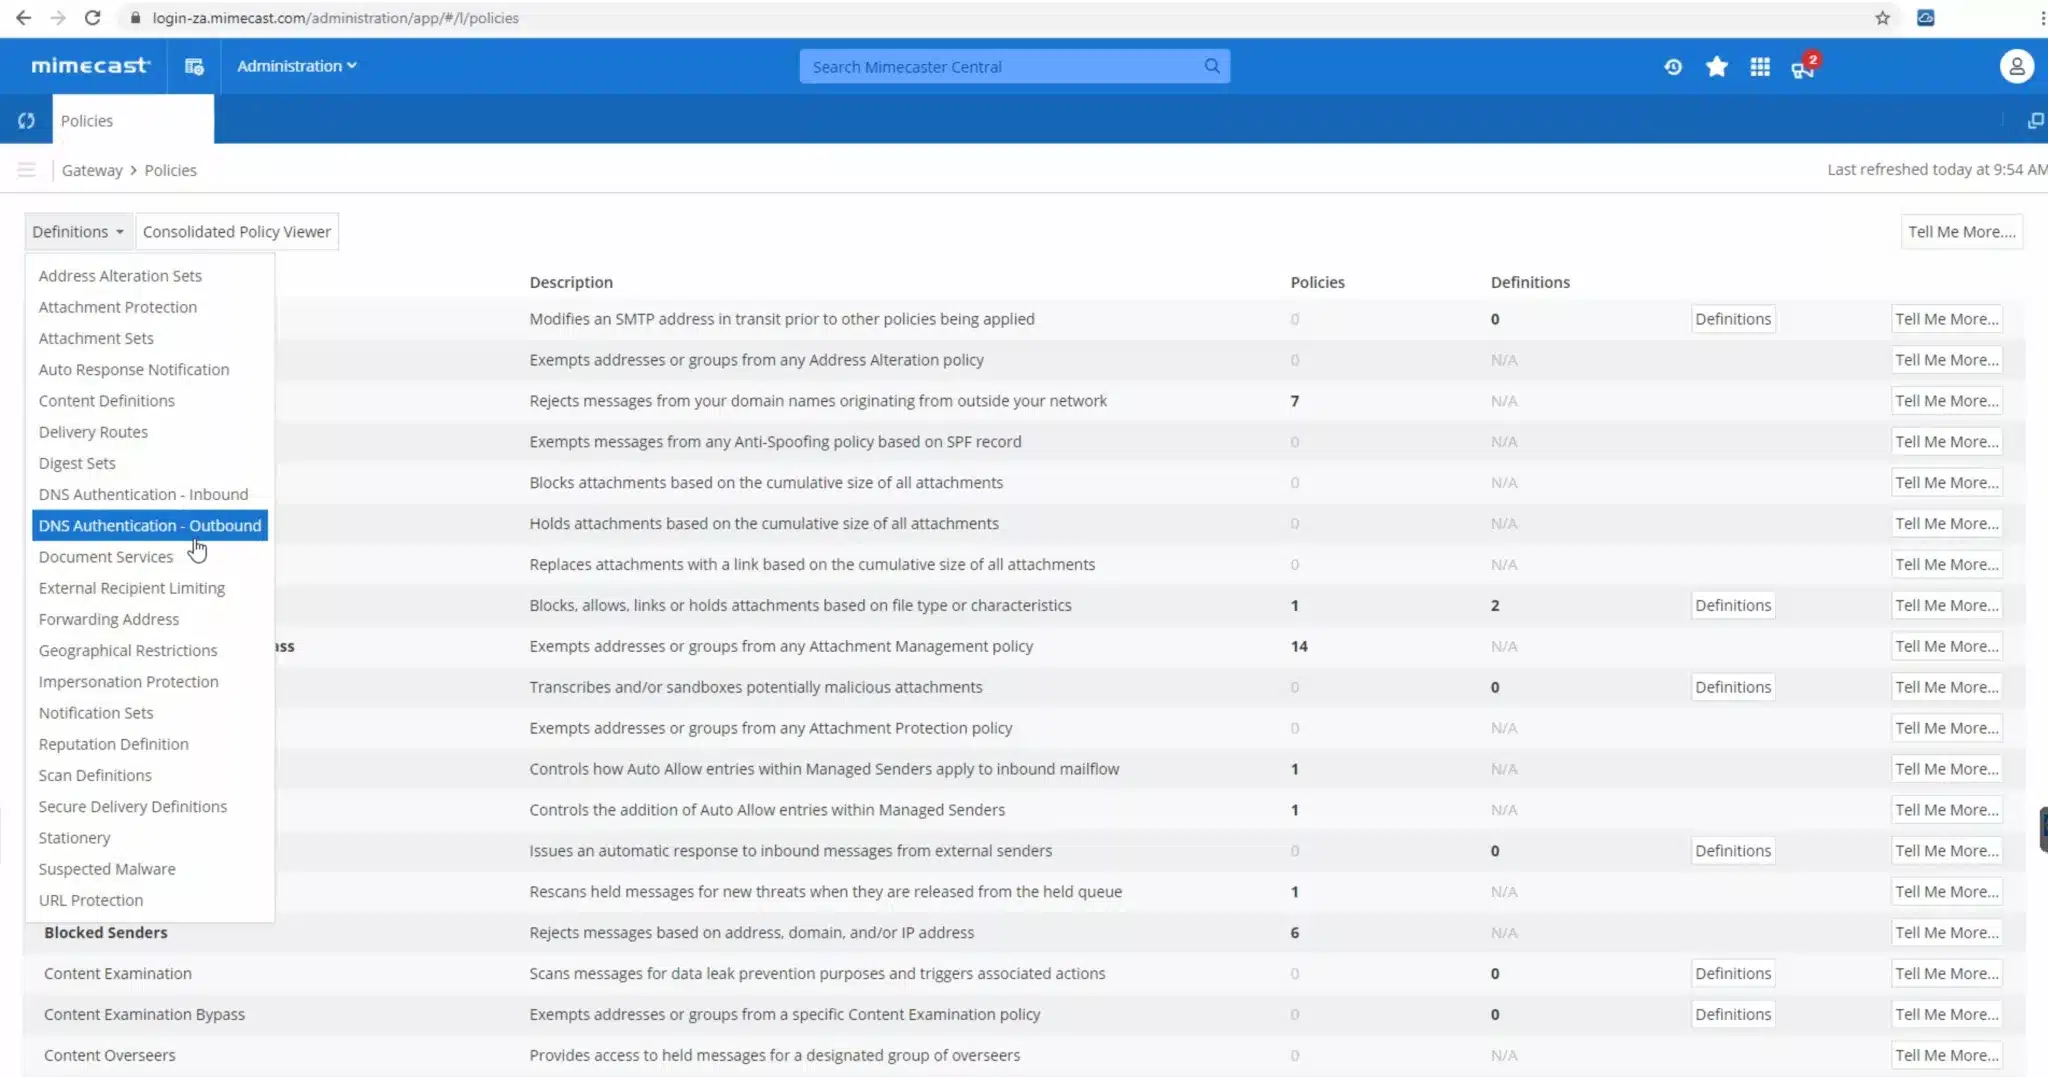
- Now click the “Definitions” dropdown and select “DNS Authentication – Outbound“.

- Click “New DNS Authentication – Outbound Signing” to create a new DKIM policy.

- Fill in a description and select “Sign outbound mail with DKIM”. A domain needs to be selected and so click “Lookup” next to “Domain”.

- Select your domain by clicking “Select” in front of your chosen domain.

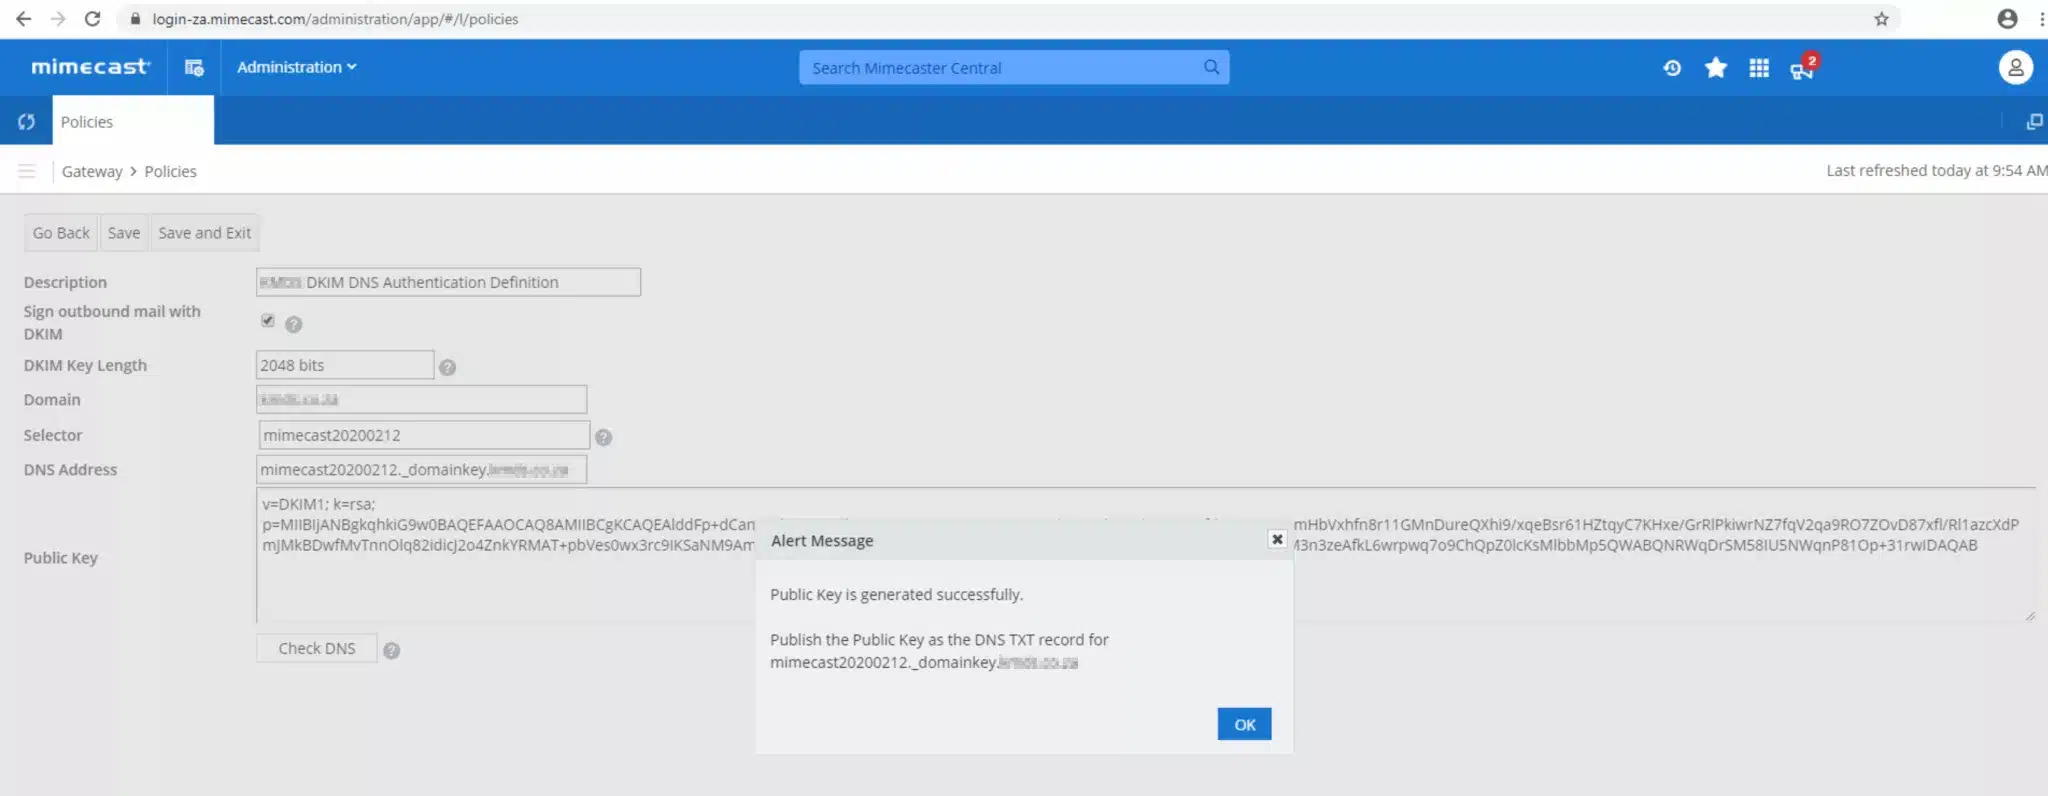
- Select either “1024 bits” or “2048 bits” as your DKIM Key Length. We recommend choosing “2048 bits” for more secure encryption.Click “Generate”.

- Your new DKIM key has been generated successfully.

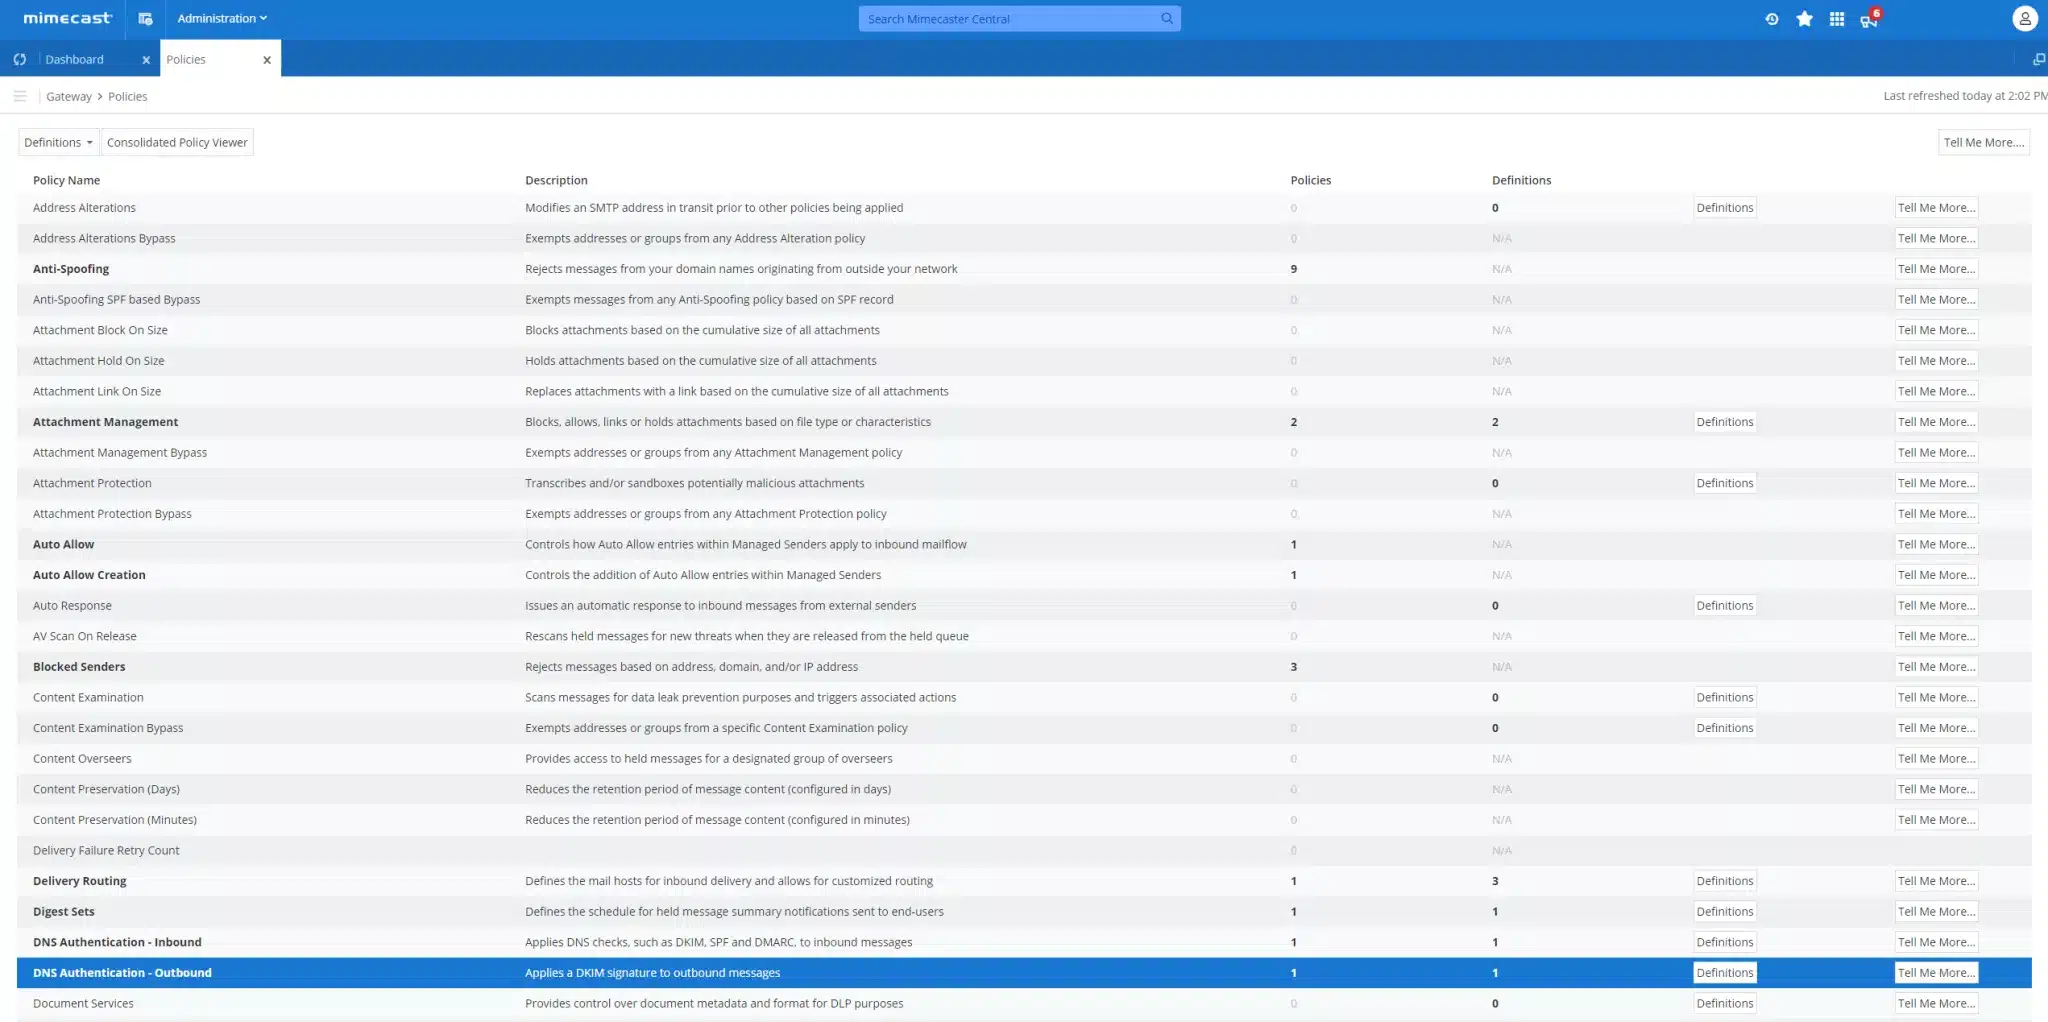
- Once generated, you can add your DKIM key under domains in Sendmarc if you are a Sendmarc customer or directly in your DNS. Next, under “Policies” select “DNS Authentication – Outbound” by clicking anywhere on the line when highlighted in Blue.

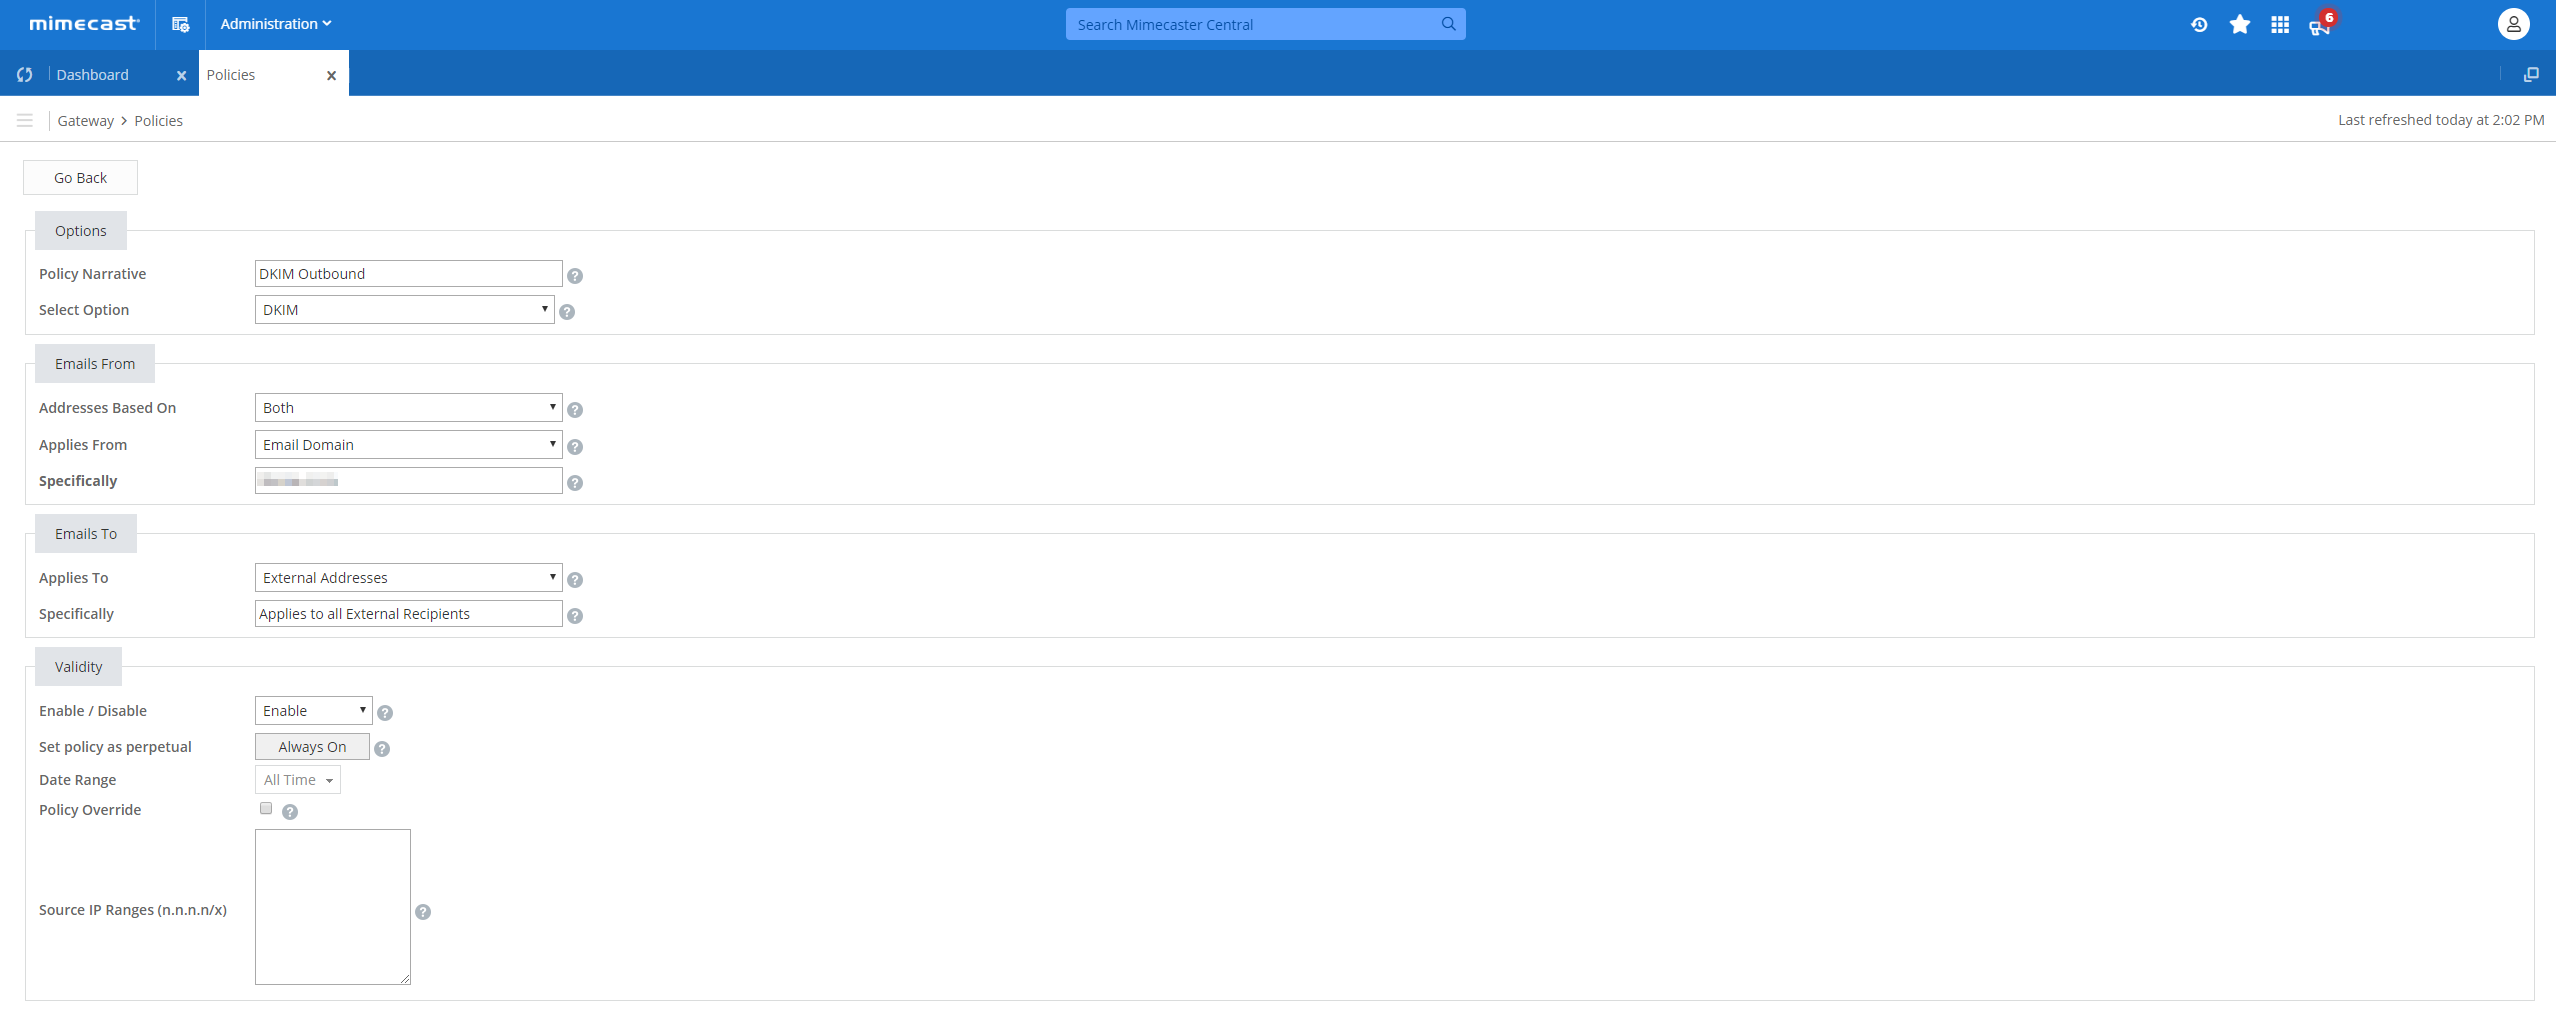
- Add a new Policy for Outbound Signing and use the following values:
Policy Narrative
DKIM Outbound
Select Option: DKIM Addresses Based On: Both Applies From: Email Domain Specifically: [YOURDOMAIN.COM] Applies To: Everyone Enable / Disable: Enable Set priority as perpetual: Always On 
- Go back into Mimecast and click “Check DNS” to verify that your DNS has been added to your hosting environment successfully.

How to update your DKIM settings using Sendmarc
Looking to update your DKIM DNS records with Sendmarc? Our easy-to-follow instructions are available here.
Mimecast’s Documentation
For official guidance on configuring DKIM with Mimecast, visit Mimecast’s documentation here.
Looking for SPF Settings?
Find out how to configure your Mimecast SPF settings here.
