

SendGrid DKIM Setup
DKIM (DomainKeys Identified Mail) is an email authentication protocol that uses cryptographic signatures to verify that messages are sent from your domain and haven’t been altered in transit.
This guide explains how to configure DKIM for SendGrid, a cloud-based email delivery service used to send transactional and marketing emails at scale.
SendGrid DKIM Requirements
SendGrid will always provide you with a custom DKIM signature. However, your custom DKIM signature is only automatically updated if you select automated security when authenticating your domain.
If you turn automated security OFF, you will be responsible for updating your DKIM signature whenever you make a change to your sending domain.
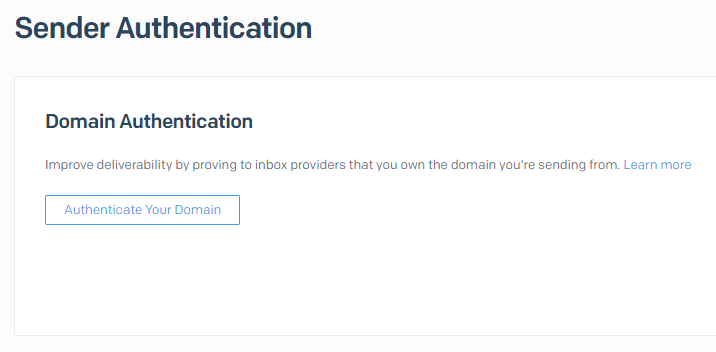
- In the SendGrid UI, select “Settings” > “Sender Authentication”.
- In the domain authentication section, click “Get Started” or “Authenticate Your Domain”.
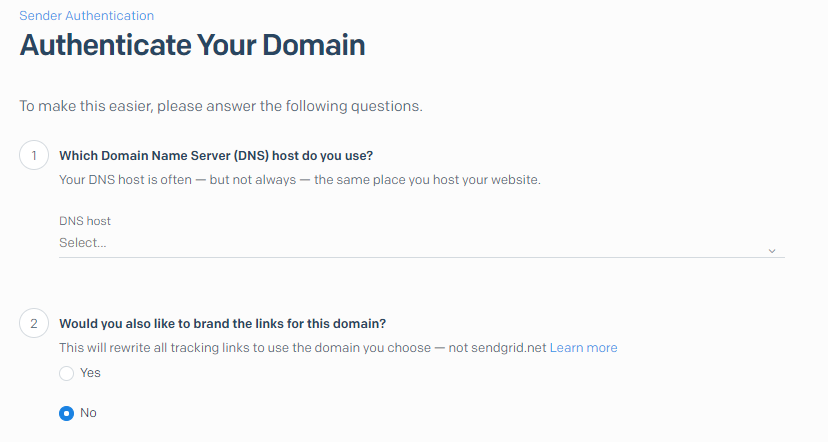
- Next, add in information about your DNS host, and indicate whether you also want to set up link branding. Click “Next”.
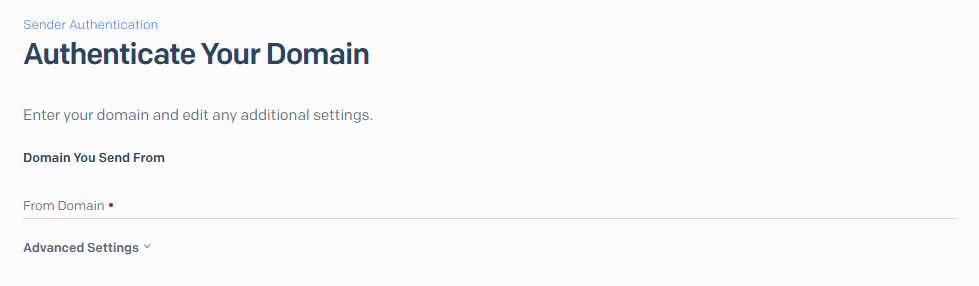
Fill in the domain you’ll be sending emails from. This should be your root domain only — don’t include www or https://www.
Your domain must match the one used in your From email address.
For example, if you’re sending from [email protected], enter sendgrid.com.Add any advanced settings if needed, then click Next.
- Next, you need to add all of the CNAME records on this screen to your DNS host.This process varies depending on your DNS host. If you’re using Sendmarc to manage your DKIM keys, follow the process here.
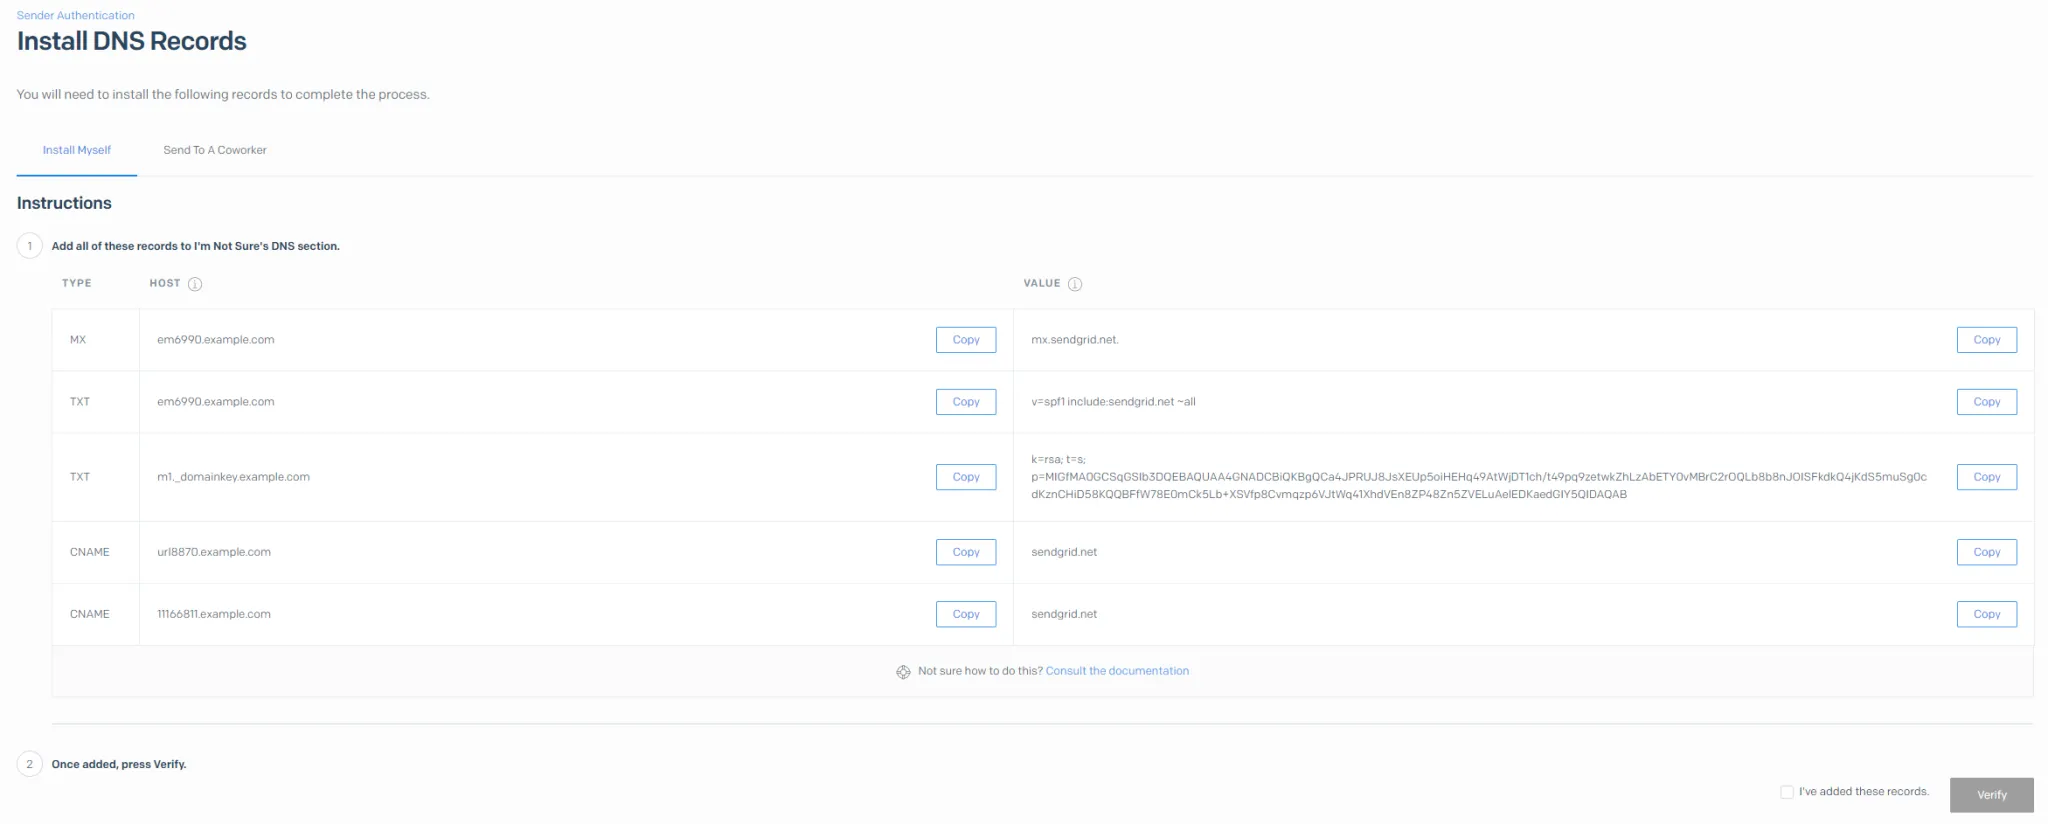
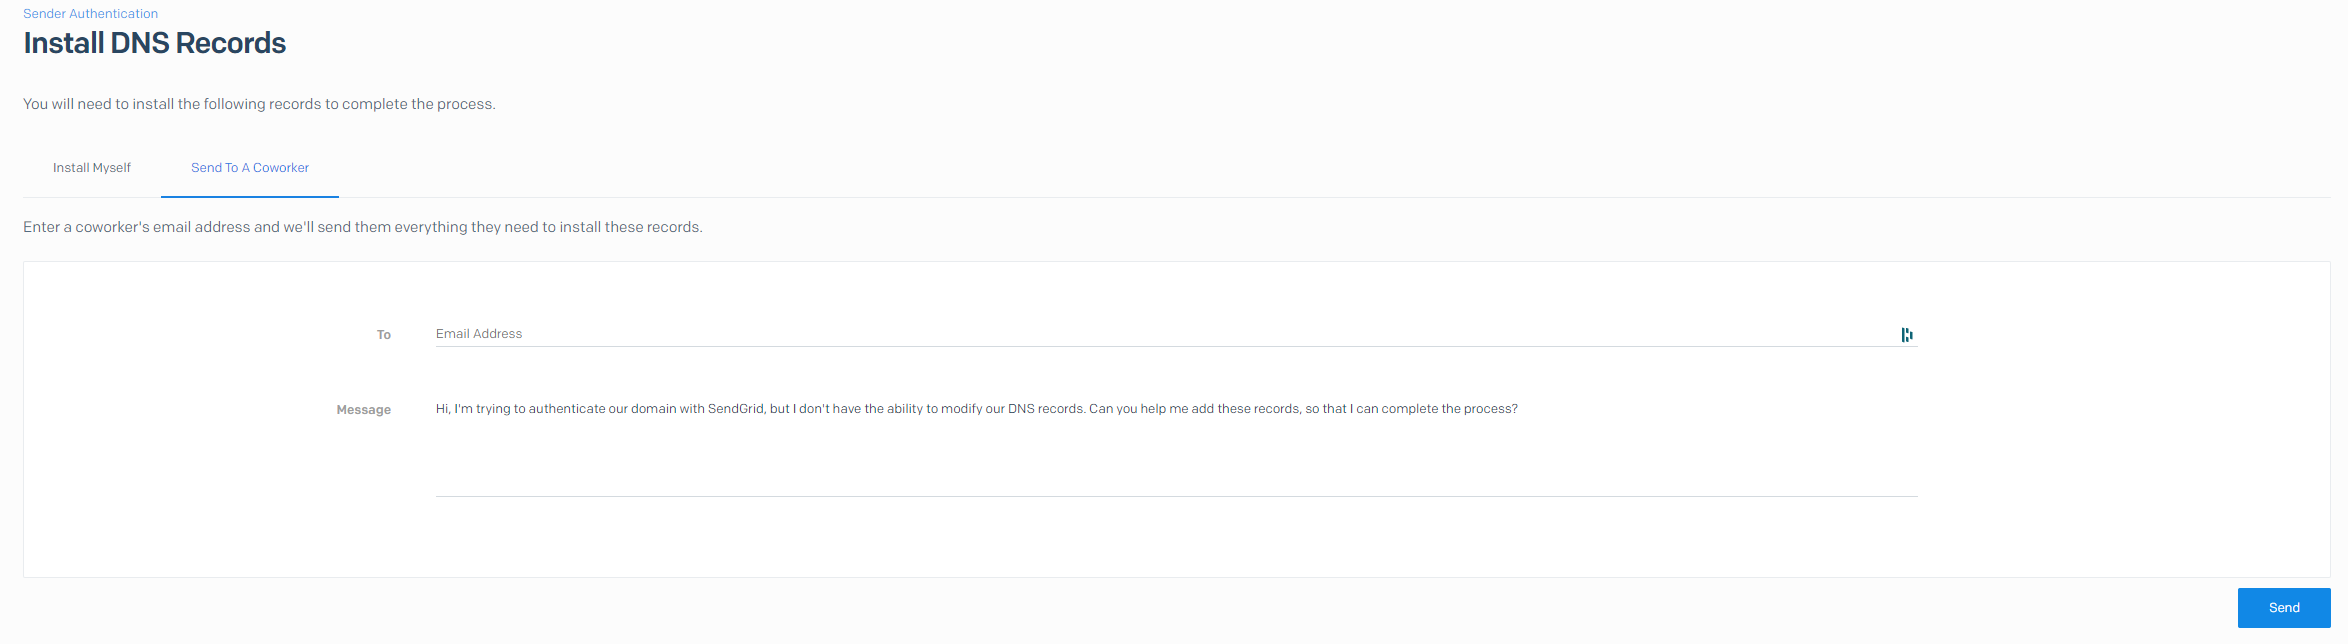
If you don’t have access to update your company’s DNS records, you can email the setup instructions to a co-worker.
The email will include a direct link to the CNAME records, and your co-worker won’t need a SendGrid login to view them. Just keep in mind — the link does expire.
Example Required Records
Host Type Value subdomain.<yourdomain.com>. CNAME uXXXXXXX.wlXXX.sendgrid.nets1._domainkey.<yourdomain.com>. CNAME s1._domainkey.uXXX.wlXXX.sendgrid.net.s2._domainkey.<yourdomain.com>. CNAME s2._domainkey.uXXX.wlXXX.sendgrid.net.
Note: If you’re making use of Sendmarc for DKIM management, add only the DKIM keys to Sendmarc (i.e. the second and third items in the table above) – the first entry should be added to your public DNS.
How to update your DKIM settings using Sendmarc
To update your DKIM record through Sendmarc, please refer to the Sendmarc DKIM Setup Documentation.
SendGrid’s Documentation
SendGrid’s official DKIM configuration guide can be found here.
Looking for SPF Settings?
Find out how to configure your SendGrid SPF settings here.